While I love canning, root cellar or cold storage techniques might be my second favorite way of preserving food at home. Whenever a crop can essentially store itself, it’s a win in my book because it requires so little work on my part. No refrigeration and no electricity? What’s not to love? Learn how to store vegetables without a root cellar with these tips.
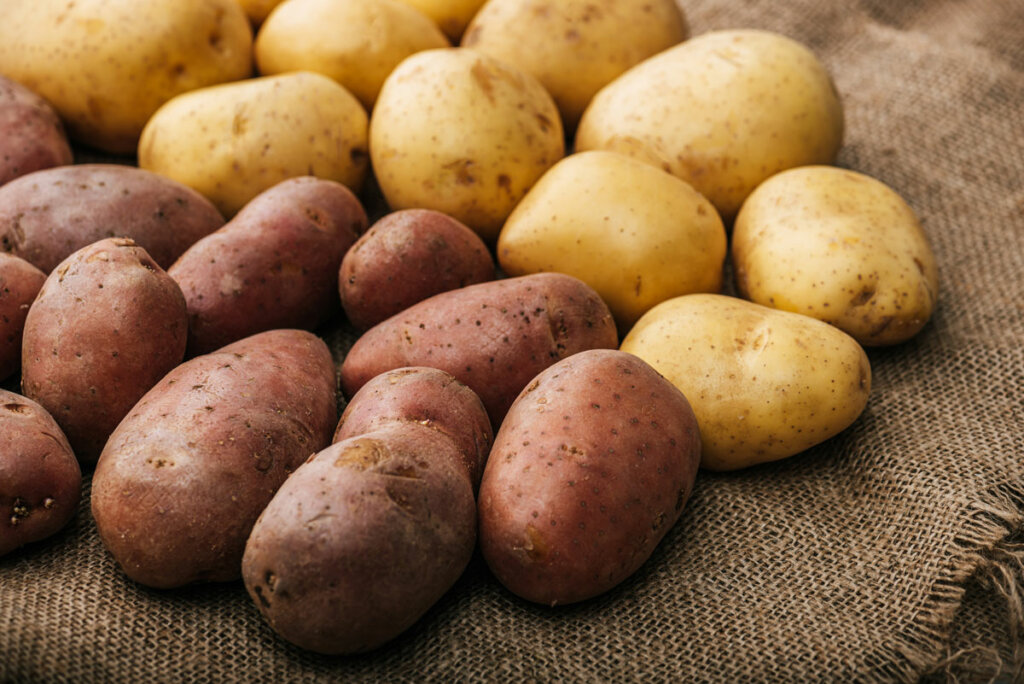
I love it when I can find fast & easy preservation methods to store food for my family without a ton of effort. (Little effort just sounds better than lazy, right?)
Fall is when most root cellar and cold storage crops are ready for harvest and storage. But for those of us who don’t have a proper root cellar, we have to get creative for storing root crops and other fruits and vegetables when the harvest comes in!
This post covers every kind of crop that works best for long-term storage without additional preservation techniques.
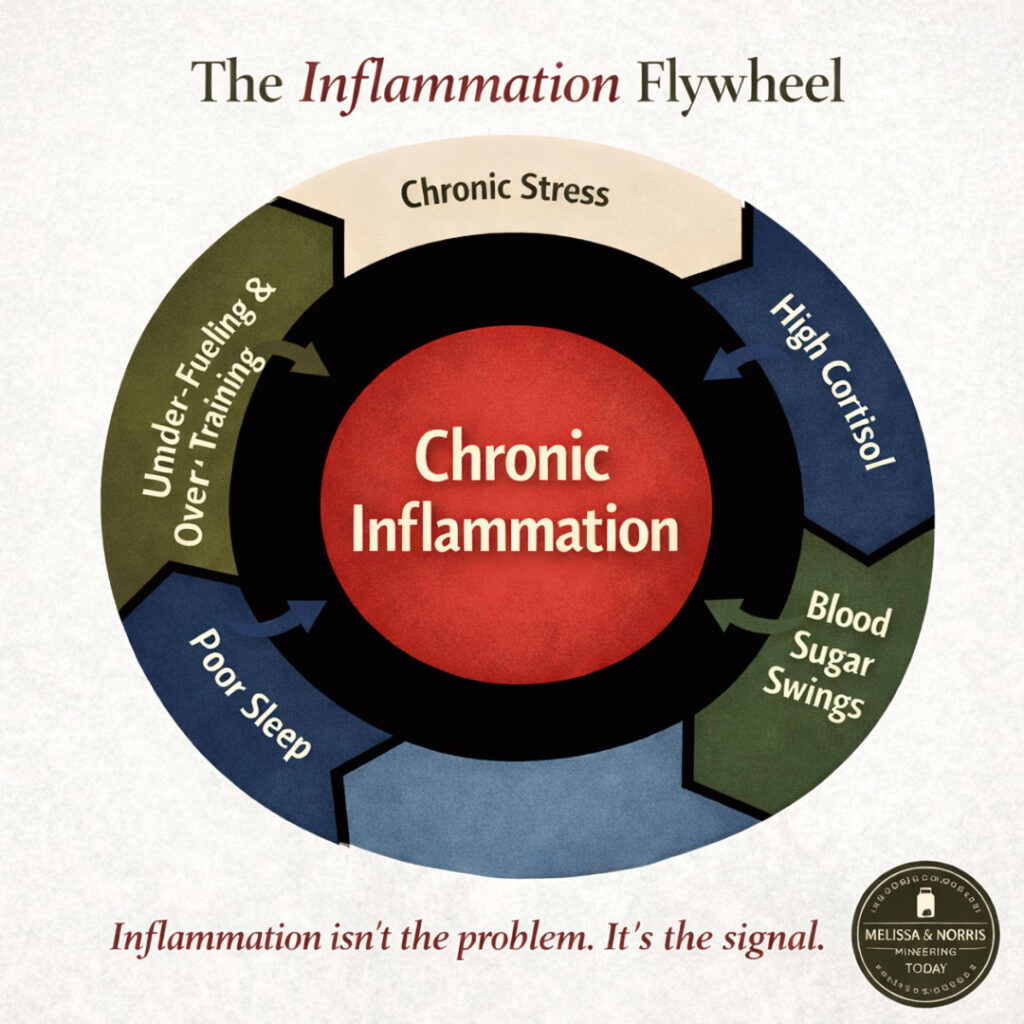
The Hidden Cycle Keeping You Inflamed
If you’ve been feeling puffy, tired, achy, or wired-but-tired, this two-page guide will help you understand what may be happening behind the scenes — even if you’re eating “healthy.”
Download the Inflammation Flywheel Guide and learn:
- Where to start so you don’t feel overwhelmed
- The 5 most common drivers that keep inflammation switched on
- Why blood sugar swings, stress, and poor sleep feed each other
For those of you who do have a root cellar, I’ll try my best not to get jealous, but this post can help you understand how crops store best after the harvest without a root cellar.
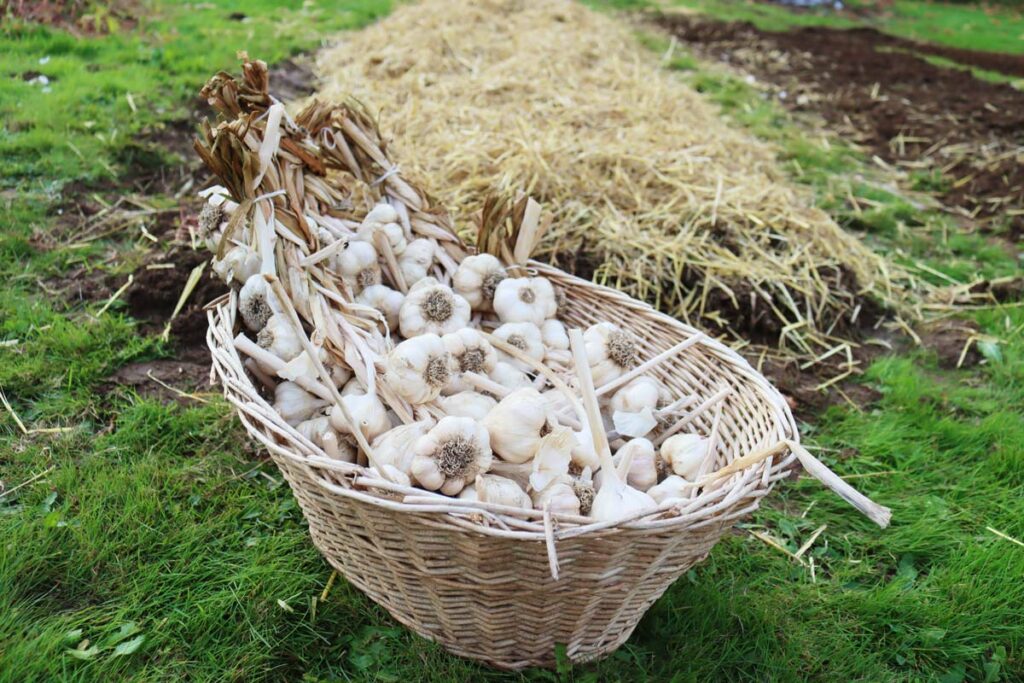
Table of Contents[Hide][Show]
Tips for Storing Vegetables
Whether or not you need to know how to store vegetables without a root cellar, there are some things that are good to know for storing crops in general.
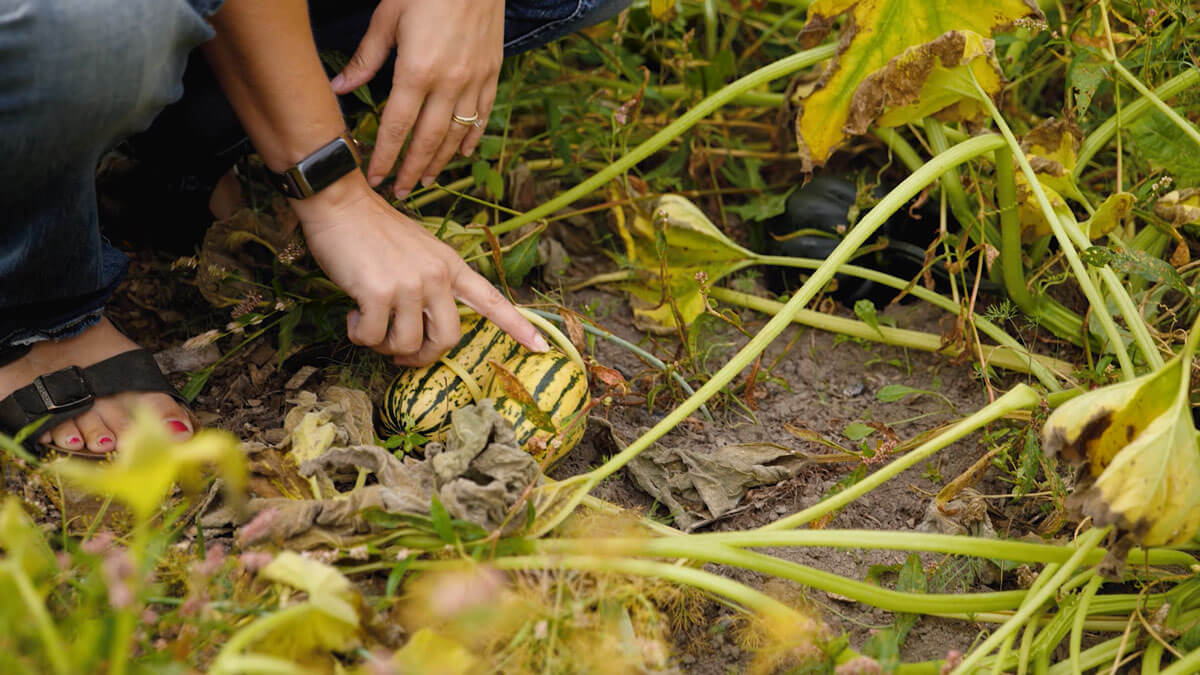
First, some crops store well in the garden even through extremely cold weather! Other crops should be harvested and cured before storing.
Read on for these tips on how to properly harvest and cure crops prior to storing them for best results. Improperly cured produce will not store long and can actually cause spoilage to the rest of your crops.
You’ve heard the saying, “One bad apple spoils the whole bunch.” That’s because one rotten piece of fruit or vegetable can spread to the healthy crops and ruin them all.
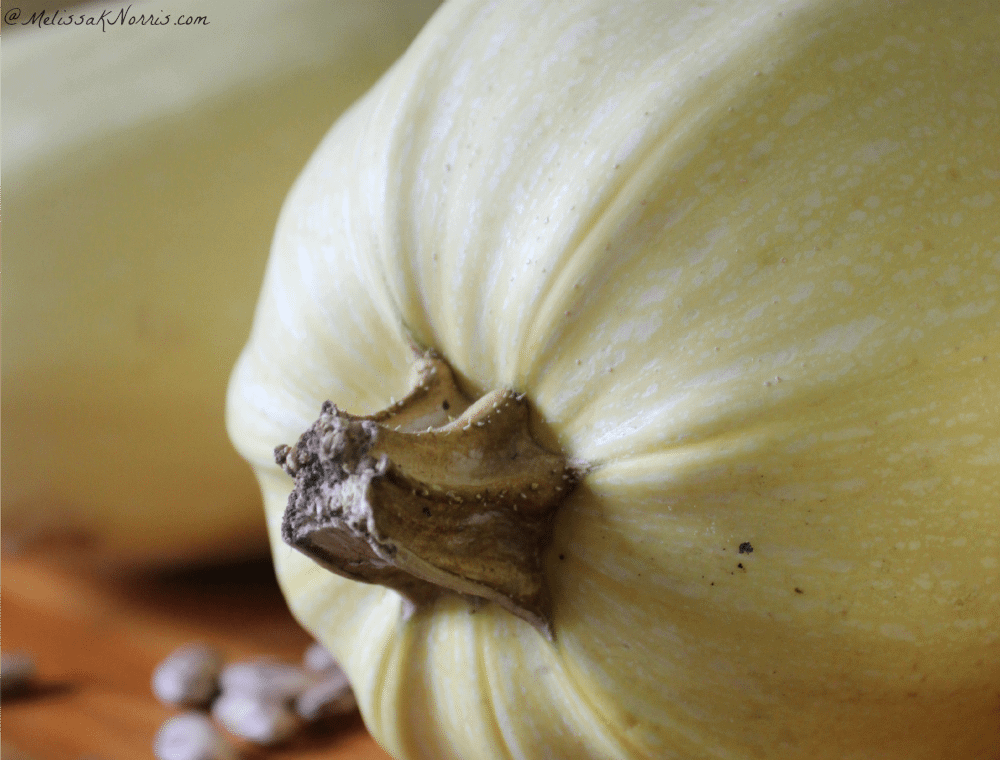
Leave the Stem On
This stem is actually good to leave on for any food you’re storing. Whether fruit from the tree, berries from the bush, or vegetables ready for long-term storage.
Leaving the stem on keeps disease from getting into the center of the food and breaking it down faster. So, when harvesting those crops that have stems, do your best to leave a small stub intact.
Cure Properly
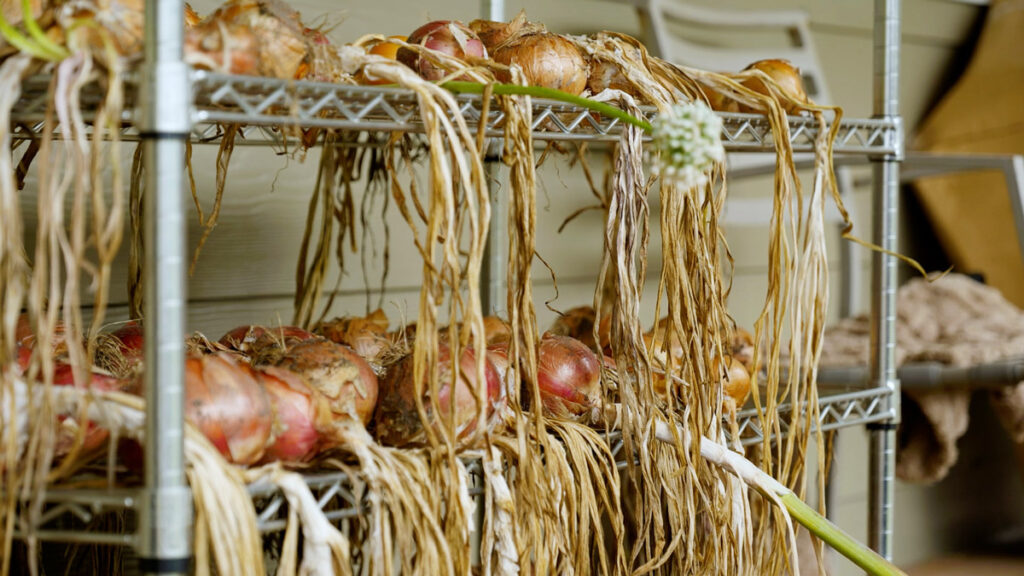
The curing process is important for certain crops. It involves leaving the crop out for two to four weeks at a higher temperature. During curing, the skin of the food hardens, and excess moisture is drawn out, which helps extend the storage life.
Here in the Pacific Northwest, we tend to get excess rain toward the end of the season, so if it’s cold and rainy, I will cure my crops next to my wood stove inside the house.
Crops that need to be cured:
- Potatoes
- Sweet Potatoes
- Onions
- Garlic
- Squash
How to Cure Crops
To cure crops, follow these basic instructions:
- Spread crop out so there’s even airflow. Don’t cure in direct sunlight, especially onions and garlic, as you can sunburn the crop. We’ve used old screens stretched out on saw horses or metal shelves to cure our onions and garlic. Our squash we just set on our back porch.
- Don’t wash crops before curing or storing. If there’s a lot of dirt, brush it off, but as the food cures, the dirt will dry and be easier to remove. Washing introduces even more moisture to the food and pushes it through the skin down into the crop—not what you want for curing or long-term storage. For winter squash, you can wipe down the outside of the squash with vinegar before storing it.
- Curing temperatures – regular potatoes should be cured at 55 to 60°F while everything else is best cured between 70 to 80°F. Sweet potatoes (those heat-loving darlings) are best cured at 85°F.
Pro Tip: Even if you don’t have perfect temperatures for curing, don’t worry; just do your best. We rarely have a full two weeks of temperatures above 75 degrees, and I still cure my garlic. Sometimes, you just have to cure it for a few extra weeks.
Proper Ventilation
Good ventilation and airflow around your food are essential. This will prevent fungus from growing and greatly increase the shelf life. Not only do you need ventilation in the room or where you’re storing your food, but your containers shouldn’t be airtight either.
Best Storage Containers
I mentioned ventilation was important for storing food long-term. The right storage container can make all the difference in how long your vegetables will keep. Here are some of my top recommendations:
- Mesh bags – You know those mesh bags that potatoes and other root vegetables come in from the grocery store? If ever I find I need to buy a bag from the store, I’ll save the bag for the following year to store vegetables. Not only are they breathable, but they hang well or lay nicely on a shelf.
- Burlap bags – A burlap bag works well, too. I recommend leaving the top open for extra airflow as the burlap allows for a bit less air movement.
- Cardboard boxes – In a pinch, a cardboard box with holes punched in the sides will work.
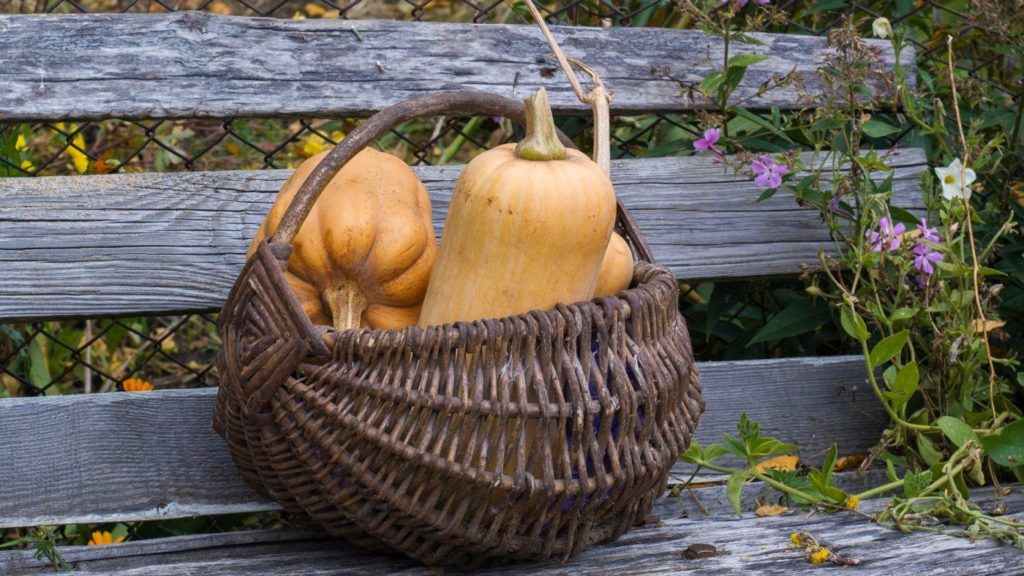
- Baskets – Wicker baskets are generally great for storage because they allow airflow. But any basket that has plenty of holes for ventilation should work great.
- Laundry baskets – Though I don’t love the idea of giving up my laundry basket for veggies, they will work if it’s your only option. Again, you’ll want laundry baskets with plenty of holes and do your best not to store the vegetables too deep as this can cause bruising on the lower layers.
Storage Varieties
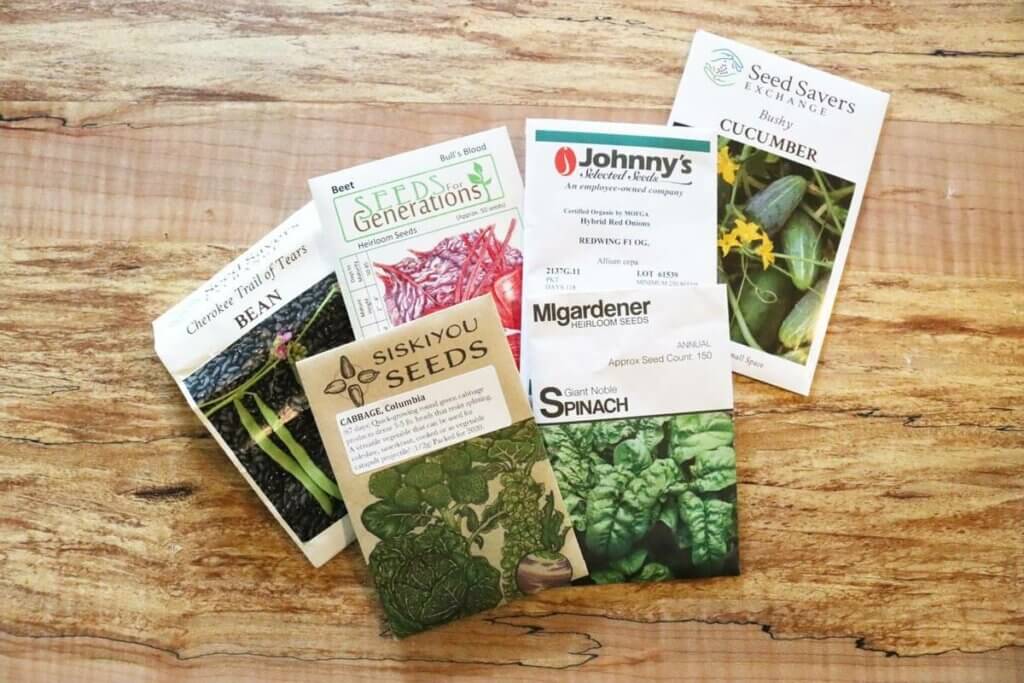
When planting your garden, if the end goal is to store your crops long-term, it’s important to choose varieties that are best suited for storage. Onions are the perfect example. You wouldn’t want to plant a garden full of sweet onions expecting that they’ll store for a year.
Furthermore, even my storage onions only store for about six months, so it’s important to always be checking and monitoring your food supply to use up what you have before it goes bad.
When buying seeds, check the packet as they should say “good storers” or “great for storage,” etc.
Best Storage Conditions for Root Cellar Crops
If you’re looking to store vegetables without a root cellar, the best starting place is to find an area of your home that comes close to the ideal conditions.
For the majority of our storage crops, we’re looking for any area in the house that stays cool and dry. These could be:
- Areas in the house that stay below 60°F, but above freezing. Think of an unheated garage, storage shed, etc.
- Are there closets or exterior walls that are away from heaters (or wood stoves) that stay cooler than the rest of the house?
- Can you get creative with a crawl space, cellar or attic area?
- How about an unheated (or cool) mudroom or entryway?
It’s best to think of storage crops in a few different groups that either like cold and damp, cold and dry, cool and dry or slightly warmer and dry.
Let’s dive deeper into each of these below…
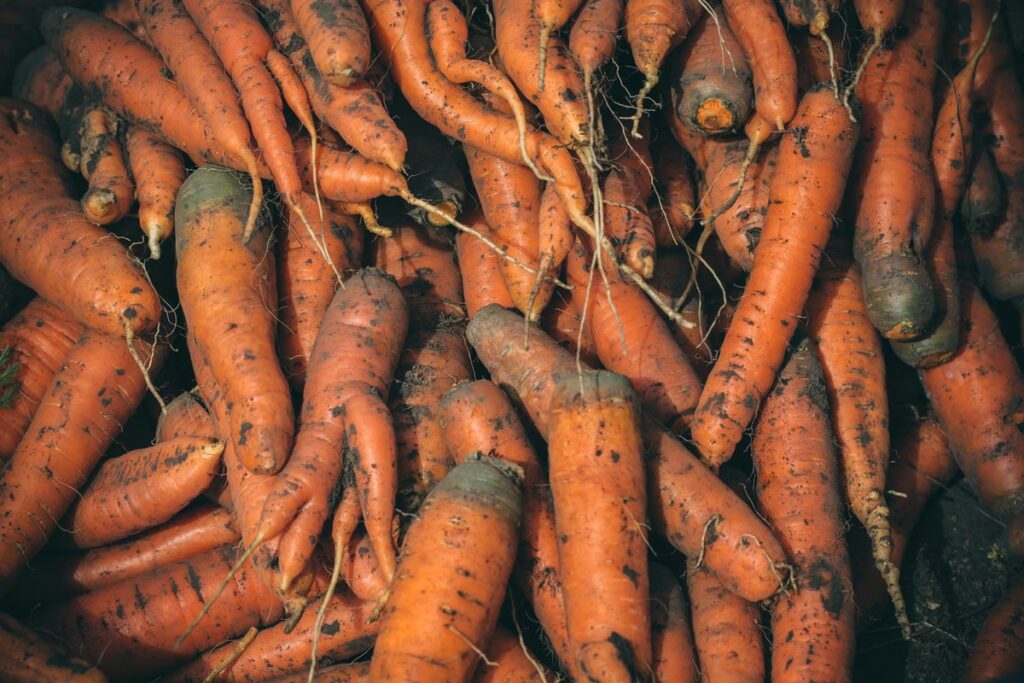
Cold and Damp
Crops that like it cold and damp prefer temperatures between 32-40°F (0° to 4.5°C) and humidity around 90%.
If you have an area that’s cold and dry, you can adapt the area to meet the needs of the humidity by covering and storing root vegetables in sand, wood shavings, peat moss, hay or straw. Having a spray bottle nearby to keep the sand, wood shavings or peat moss damp (not wet) makes this doable.
Crops that like cold and damp conditions are:
- Beets, carrots, celery, radishes, rutabagas and turnips.
- To store these vegetables, pick them before the outdoor temperatures drop below 25°F (-4°C), brush off the loose soil (but don’t wash), trim the tops to about one inch and leave any roots that are intact.
- In a container that doesn’t have holes, add a layer of damp sand, peat moss or wood shavings then layer the vegetables in a single layer so they don’t touch. Add another thick layer of your damp packing material and continue until the container is full. Finish with a final layer of packing materials.
- When storing celery, pull the whole plant up by the roots and “replant” it in damp sand.
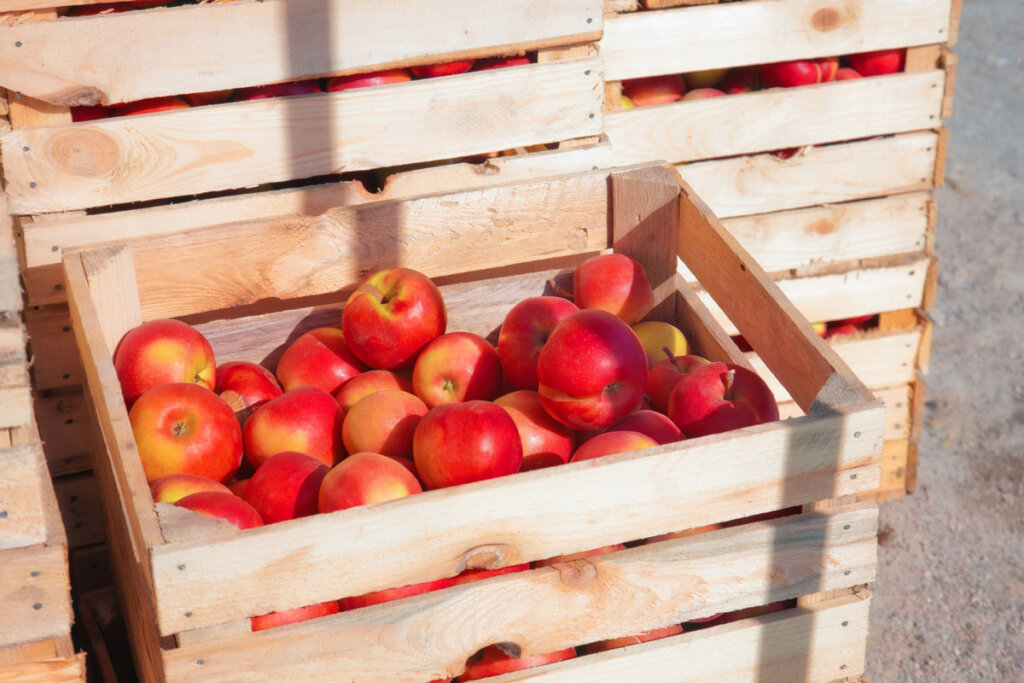
Cold and Dry
Some fruits and vegetables will like a still cold temperature but prefer less humidity. This isn’t technically “dry,” but for the sake of categorization, we’ll call it dry. These crops prefer temperatures between 32-40°F (0° to 4.5°C) and humidity levels between 60-70%.
These crops can likely be stored in the same location as those that like “Cold and Damp,” but you’ll want to make sure they are given extra airflow so moisture doesn’t build up.
Crops that like cold and damp conditions are:
- Apples, Brussels sprouts, cabbage, pears and potatoes.
- For the fruit (apples and pears), wrap each individual piece of fruit in a piece of newspaper. This will help absorb any excess moisture as well as protect the other pieces of fruit from “one bad apple” spoiling the rest. Apples should also be kept as far away as possible from the other crops as they give off ethylene gas which can cause other fruit to ripen (rot) more quickly.
- For the Brussels sprouts and cabbage, you can “replant” them in a bucket of damp soil.
- Potatoes prefer a dark space, so either a container that has a lid (but still plenty of ventilation) or a dark room/closet.
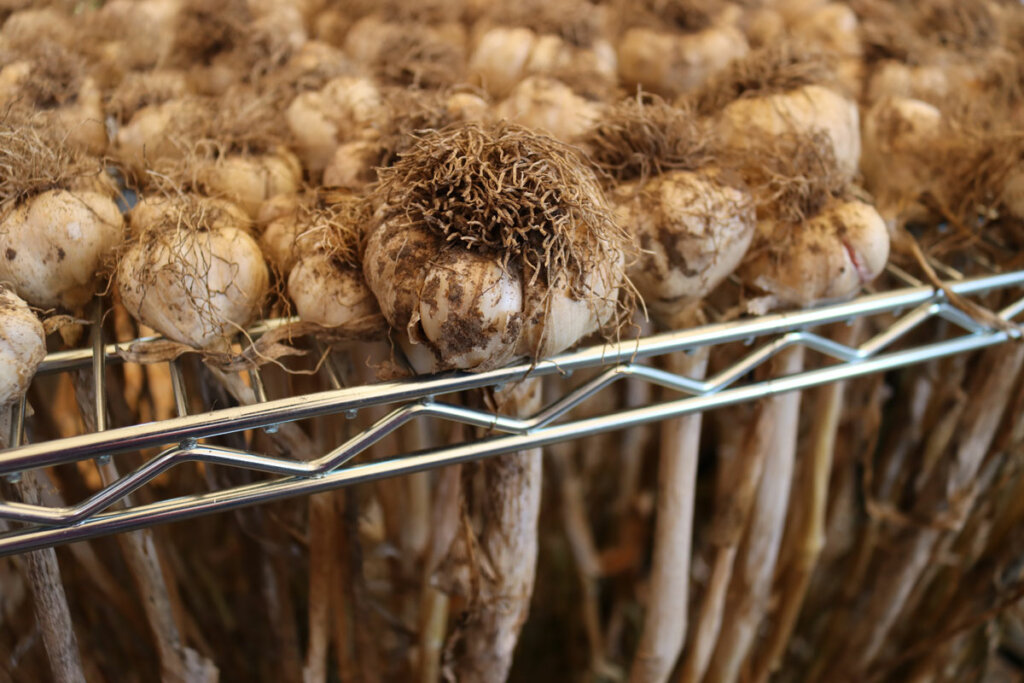
Cool and Dry
Next up is the group of crops that prefer it cool (not cold) and dry. These are crops that do best between 40-50°F (0° to 10°C) and less than 60% humidity.
Crops that like cold and damp conditions are:
- Garlic, onions and shallots.
- Before storing, make sure these crops have been properly cured prior to storing them.
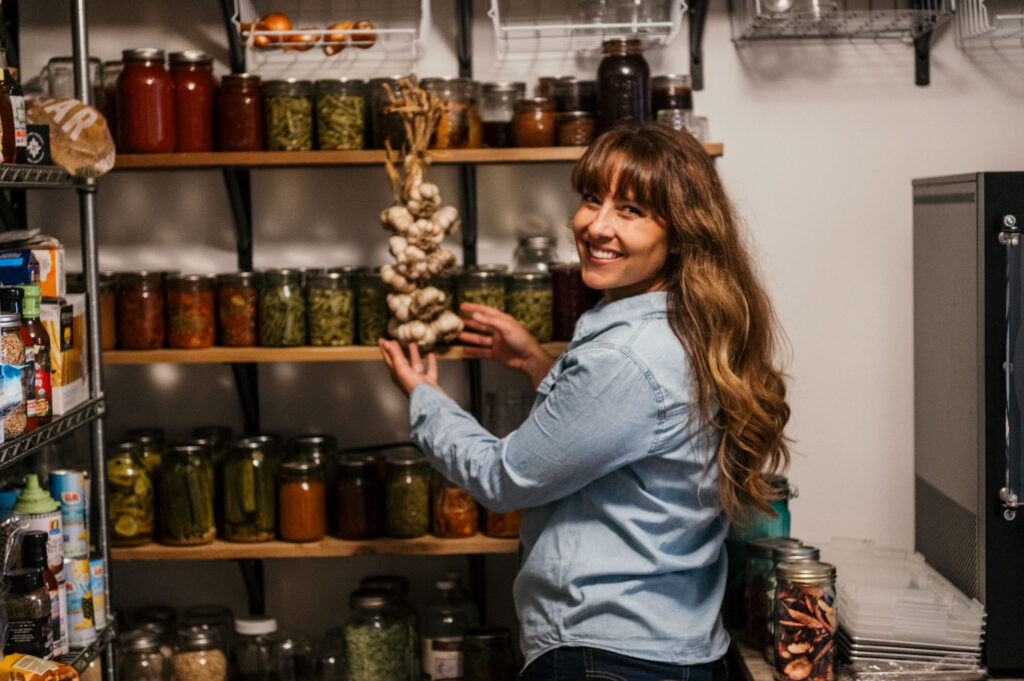
- Learn how I string onions for storage here and learn how I braid garlic for storage here.
- If you can’t string or braid these crops, you can store them in mesh bags or in shallow baskets with plenty of ventilation (no more than two layers deep).
- Store these crops in an unheated space.
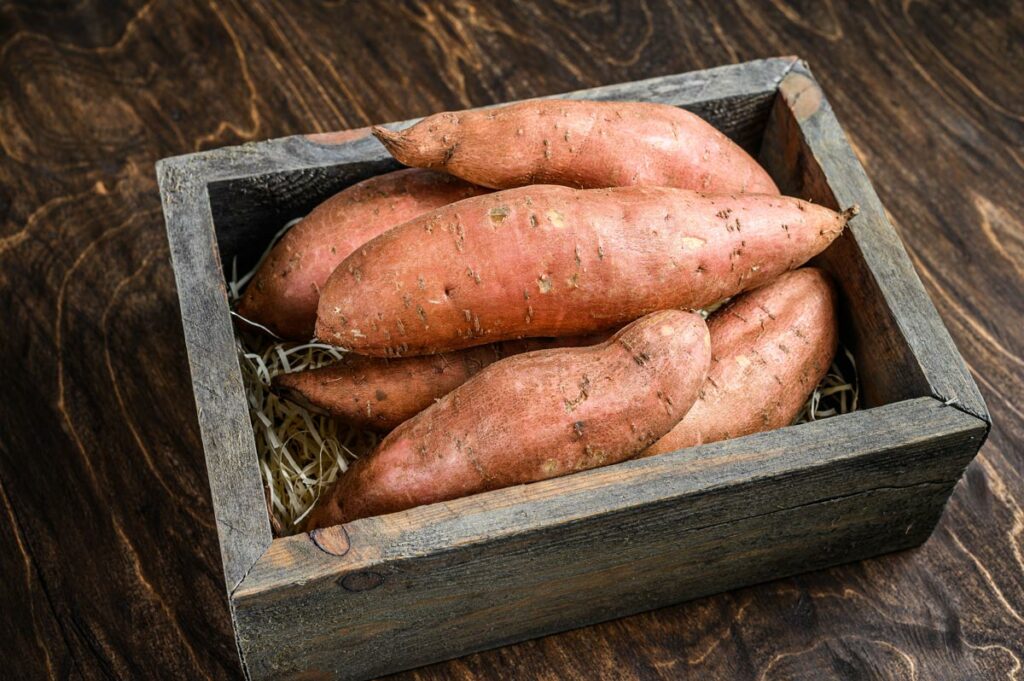
Room Temperature and Dry
Finally, we have those crops that do best with temperatures that are closer to room temperature. In other words, they don’t require too much fussing to keep for a long period of time.
Though many of us may not think of 50-60°F (10° to 15°C) as room temperature, using a wood stove, there are often times during the night that our house reaches those temperatures. These crops also do well with humidity under 60%.
I like to find hidden places in our house to store these crops. Baskets under the beds or tucked in the back of a closet (especially if it’s an exterior wall of the house). Get creative!
Crops that like less cold and dry conditions are:
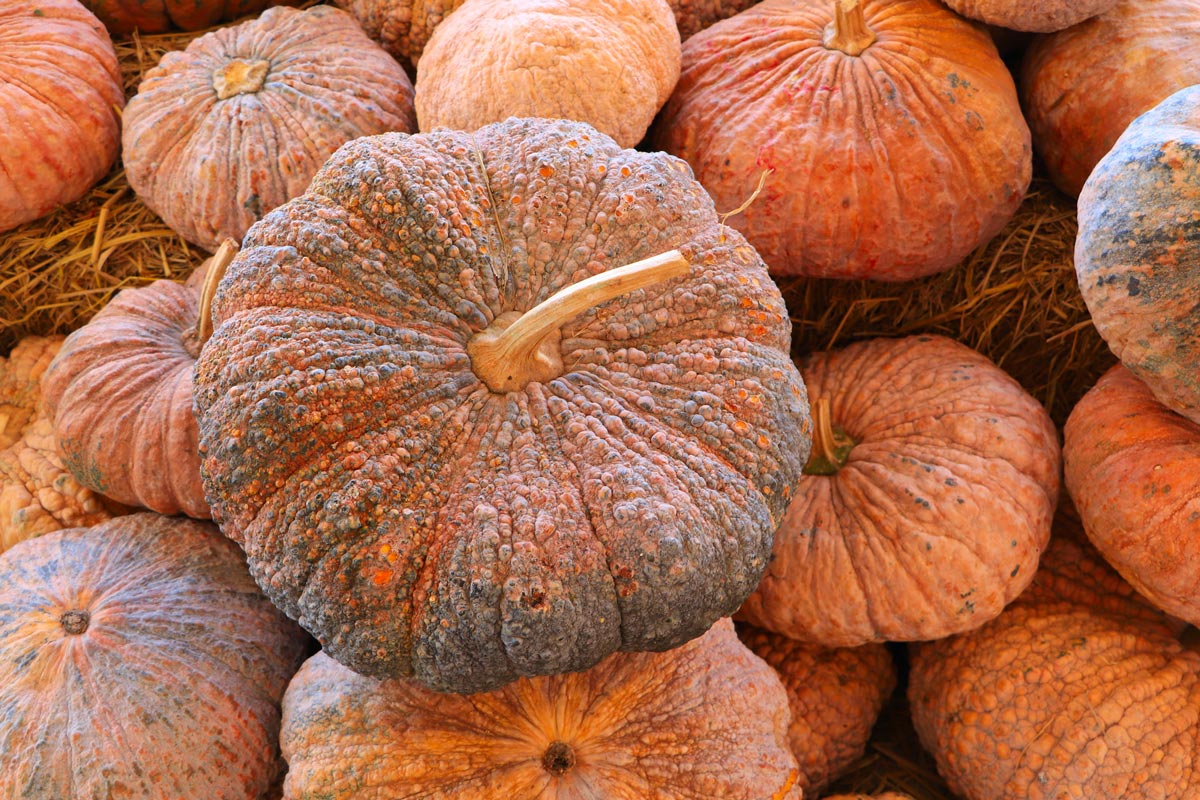
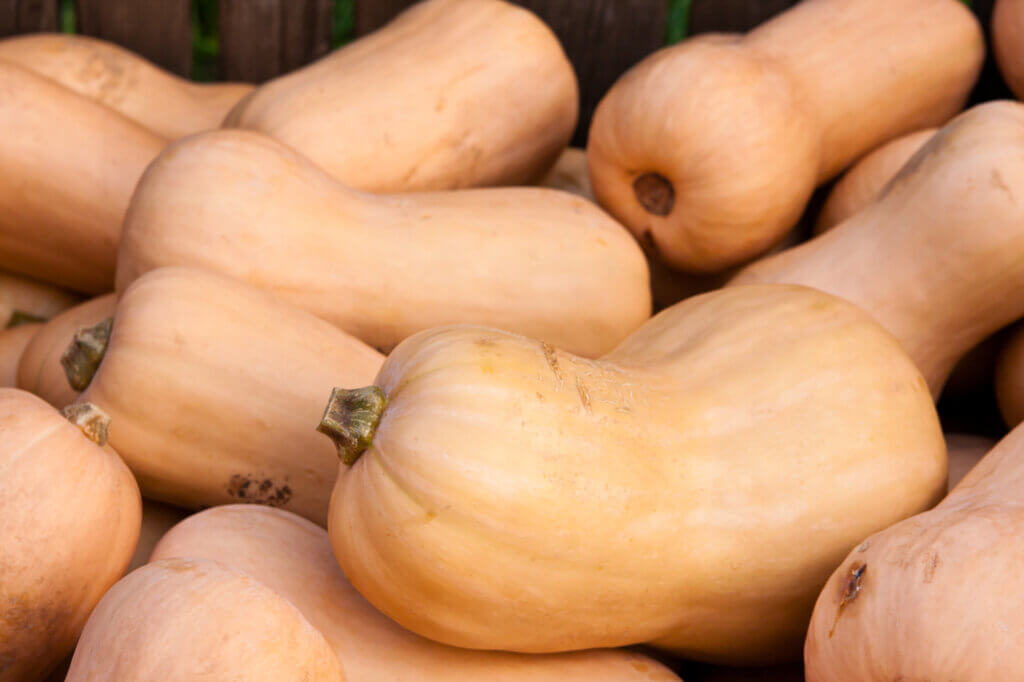
- Pumpkins, sweet potatoes and winter squash.
- Make sure these have all been properly cured prior to storage. When the pumpkins and squash are properly cured, it should be hard to make an indent in the skin with your fingernail.
- Sweet potatoes prefer to be cured at higher temperatures for 5-10 days, then stored in an area that does not drop below 50°F.
- Store in a single layer (when possible) or no more than two layers deep and allow for good airflow at all times.
Now that you know how to properly store your crops, it’s time to start planning next year’s garden! Check out the articles I have listed below, and be sure to check out this post on where to buy seeds.
Resource for Root Cellaring
More Articles on Home Food Preservation
- Tips for Home Food Preservation – Seasonal Preserving Each Month
- A Complete Guide to Home Food Preservation (What to Do When You Can’t Find Canning Supplies)
- Home Food Preservation- Preserving Plan for a Year’s Worth of Food
- How to Store Home Canned Food Safely – Jar Stacking & Canning Rings
- How to Preserve Meat, Eggs, & Dairy
- 12 Ways to Preserve Apples at Home
- Leather Britches Green Beans (200-Year-Old Preservation Method)
- Freeze Dried Eggs for Long-Term Storage (+ Reconstituting Freeze Dried Eggs)
- How to Pick the Best Preserving Methods
- The Science of Home Food Preservation
- Planning and Preserving Q&A with Melissa
