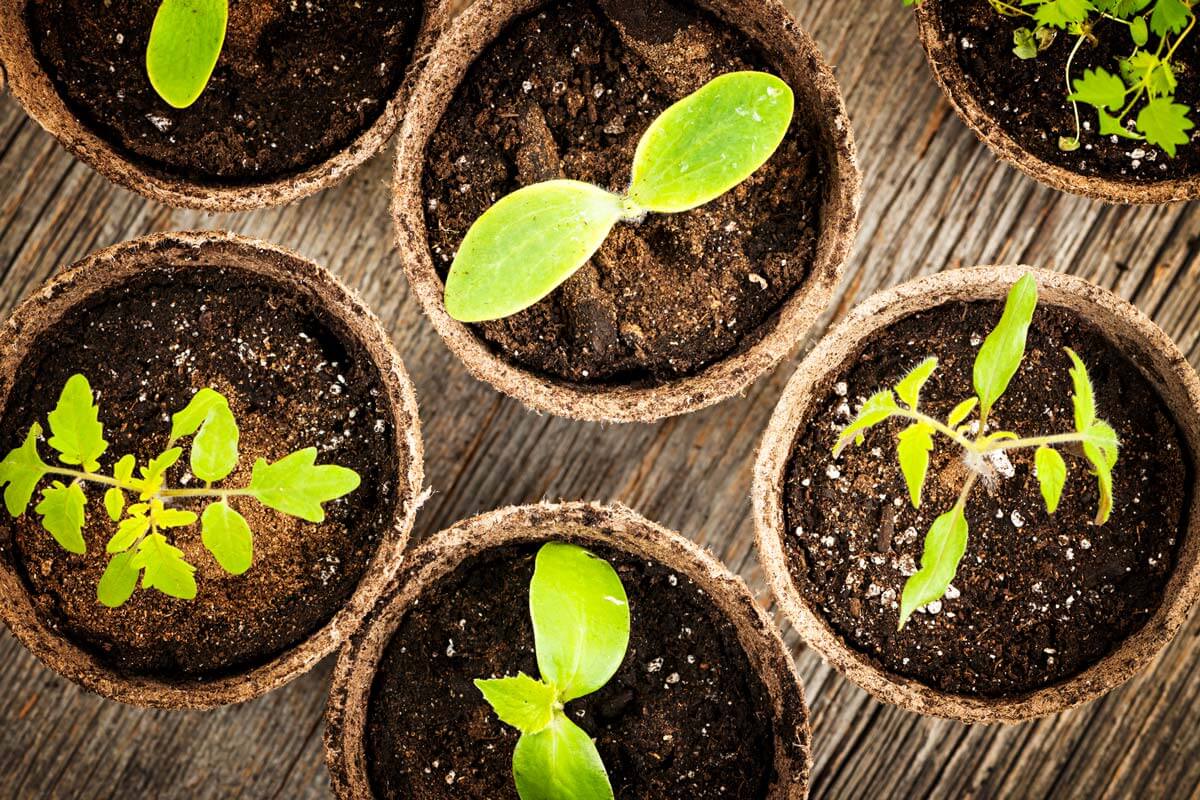
No till gardening pro’s and getting started using a no till method in your garden plus some fun tips for growing amazing tomatoes in containers!
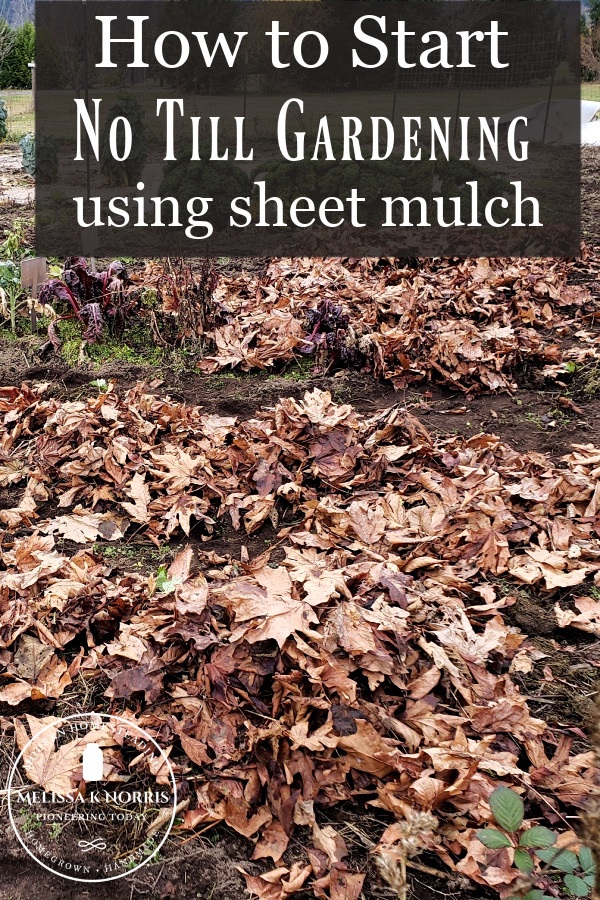
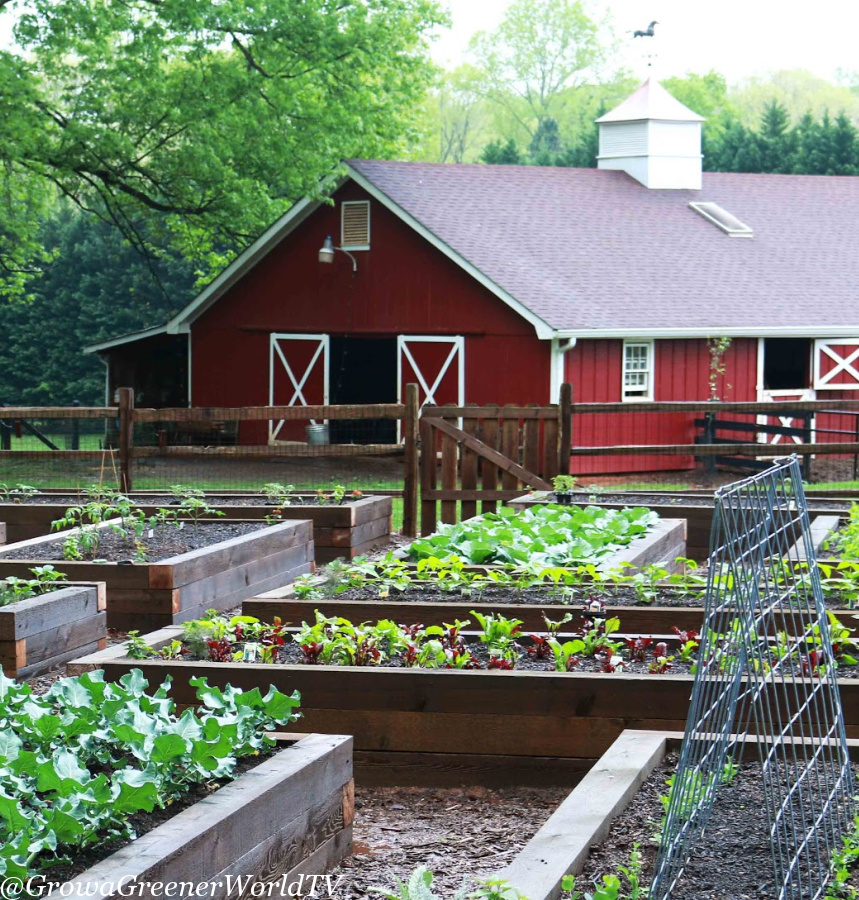
My guest today, Joe Lamp’l from the Joe Gardener Show Podcast as well as the Growing a Greener World TV show, is passionate about organic gardening methods and is a champion for environmental stewardship and how gardeners can be better at it. He’s in the Atlanta area in zone 7B on a five-acre farm with a big raised bed garden, about 45×80 feet with 16 large raised beds. He grows year-round, and while he loves growing his tomatoes, his favorite season, if he had to chose one, would befall gardening for food because it’s all those leafy crops and healthy delicious things that he loves to eat. Not to mention the other benefits of lower humidity, fewer pests, less disease, and it’s just more pleasant to be outside.
The extra food that he raises, which is more than his family of four can eat, is shared with food pantries and anybody who is in need. This just reinforces my belief that gardeners are just generous not only with knowledge but with their extra produce.
Listen in below to the full podcast, Episode #232 No Till Gardening Benefit’s & Getting Started of the Pioneering Today Podcast, where we don’t just inspire you, but give you the clear steps to create the homegrown garden, pantry, kitchen, and life you want for your family and homestead.
Melissa: I know you’re in gardening zone 7B but what are your first and last average frost dates usually?
Joe: April 15th is supposed to be our last risk of frost, although we haven’t seed frost on April 15th in a lot of years. I don’t really know my first frost date in fall, I think it’s probably sometime in November but I don’t really pay attention because what I’m growing for the fall garden has been planted around mid/early September for seedlings and seeds maybe three weeks before that. So by the time you get to that frost time, everything is growing happily and able to take a frost.
M: Our gardening zones are a little bit different. Technically I’m a 7B as well but I can’t plant warm weather stuff until May and I can sometimes get early frost in September. But I’m with you, I’m still harvesting Brussels sprouts and I’m still harvesting kale even though we’ve had multiple hard frosts. It almost feels like I’m cheating because I can still harvest fresh food from the garden this late into the year and into winter.
J: I know, and I love it. I like to do a lot of cooking for dinner and I always like to have my vegetables along with whatever we’re cooking as a protein if we even do that. But to go out into the garden and cut off a couple heads of big fat delicious broccoli, and then when your kids like it too because it tastes so sweet and so different than what you might get in the grocery store. It doesn’t get any better than that.
M: I completely agree. Especially like for Brussels sprouts and kale, once it’s gone through those frosts…the flavor difference…it takes on a completely different nuance when you’re cooking it and flavor is how it’s supposed to be. It’s really hard to go back or eat it at a restaurant.
J: You know there’s a difference when my older teenage daughters don’t want to give the time of day to something that maybe came from the grocery store because it just doesn’t taste like they’ve learned that it should taste. So when they have it coming out of the garden, they can’t get enough of it, but coming from the store, no thanks.
M: I completely agree. I’ve noticed the same thing with my own children so I love that you’re seeing that too.
Growing Tomatoes in Containers
I love hearing about your garden because I don’t do a lot of raised bed gardening. But I love that you experimented in your garden with growing some tomatoes in grow bags this past year. Could you give us a little bit of the backstory and why you decided to do that and then an update on the state of that experiment? How did you like it, are you going to do it again?
J: I love that question because it’s the first year for the reasons you just said. I really have never needed to grow beyond my massive raised beds, but because I’m very aware of crop rotation and the need to do that, especially down here with all the pest and disease pressure that we get in the high humid area of the southeast. I grow so many tomatoes and I run out of ro
om because I grow so many. I don’t have the ability to do a crop rotation over four or five growing seasons. So they end up going back in the same beds and over time I’ve noticed I’ve picked up some soil born diseases that I can’t really starve out if I keep putting tomatoes back into the same beds. So I said, what am I going to do about that?
Does the Type of Container Matter?
So I took a note from my good friend Brie Arthur who is a very accomplished food grower and horticulturalist in Raleigh, NC. And she was using pots have holes in them on the sides. They’re called root maker pots . The premise behind that is that the roots grow out to the edge of the pots, but the roots stop growing because they come in contact with air and rather than spiraling inside the container, like if it were a sold plastic pot. The thing that kept blowing my mind is the fact that these are only three-gallon containers for tomato growing. And I grow indeterminate heirloom tomatoes. They can grow like Jack and the Beanstalk and certainly need the root space for that. I kept asking Brie if she was sure it was going to work. She assured me she’s had the best success she’s ever had because she has root nematodes growing in her soil, so she has no choice but to grow her tomatoes in containers. She’s had greater success in these pots than anything else she’s ever tried.
Since it was good enough for her I decided it was good enough for me. I put in 15 indeterminate tomato plants into these 15 root maker pots and water them as I could and used a composted soil mix. And, since these are just containers I needed to get drip irrigation to hook up to all of them so they don’t dry out. Well, I never got around to that. But I would water when I would go out to the garden as I could but with a busy travel schedule for that time of year, I wasn’t getting back there much and yet, every time I looked at those plats, they were just looking so good. I’d water as I could, but as I said, they didn’t have drip irrigation, but they were really healthy and producing, putting on fruit quickly.
Now, the one thing they didn’t do, they didn’t get as big as my indeterminate that were in my big raised bed garden. My beds are 18 inches high and three or four feet wide so they have lots of room to grown and amazing soil. But yet these three-gallon root maker pots were producing very productive plants. When I do it again, I’m going to go with a larger size because I think the main thing that held them back was the size of the container in that the root mass could only be so big and if it can’t get bigger, it’s not going to support a much larger plant. I’m also going to make sure I get my drip irrigation installed. I think those two changes are going to make a huge difference after an already successful harvest considering that they kind of thrived on neglect.
M: I love how detailed you are and I find it fascinating about them hitting the air. I actually have not heard of these pots before so I’m going to check them out. It’s really interesting that they didn’t get root bound, which is awesome, but I’m assuming you had a lesser harvest yield than the other tomatoes, just because the size was limited. Is that accurate?
J: Exactly right. You know what else I didn’t mention? I don’t think I gave them one supplemental feeding. I typically use fish emulsion and I don’t recall that I gave them any food. If I did a third change that would certainly be it. I did get a good harvest, but it did not compare because I had a lot more foliage and branching and everything else in the raised bed garden, but I can’t complain. I was really blown away.
M: Here in the Pacific Northwest with my tomatoes I did try growing them in containers prior mainly because we’re so wet here that you cannot avoid blight. We do ours in a high tunnel. I do have to say, we don’t do crop rotation because the soils always been covered and it’s my one exception. So I think these pots are fabulous not only for crop rotation but for people who have patios and are in more urban environments and might not have the yard space. This sounds like a much better solution than when I’ve tried to use five-gallon buckets or those types of things.
J: I only used this pot because it was recommended by Brie but there are other types of pots that would work as well, like a fabric pot would really have the same premise in that when the root gets to that point, it’s porous enough so the root can work it’s way in between the weave and hit air. So it’s not going to become root-bound either. It’s going to air prune itself as well once that root comes in contact with air. The root maker pots aren’t cheap but their not expense. I think I paid around $7 for a three-gallon container, but they’re totally reusable. Every single one of them is completely intact and in great shape. So I see them being in use for years to come if I stick with that size. It’s a one-time investment but it’s well worth the money.
M: I’m going to take a guess…I bet peppers would grow really well in that smaller size.
J: Totally agree with that.
Tomato Varieties Worth Trying
M: What are your top favorite varieties of heirloom tomatoes?
J: Black Krim is always easy to roll off my tongue because I can’t get enough Black Krim. To put it in perspective, the type of tomato I’m after: I like a really strong full body cup of black coffee and like really spicy dark red wine. So I like a lot of complexity to what I’m drinking or eating. So the tomato version would be Black Krim, Cherokee Purple are the reds/dark reds that I really like the most. Or something else with the word black in it. That seems to be a real attractant to me and I’ve not yet been disappointed by that. I’ve really gotten into a lot of different varieties because every year when growing 35 or more tomato plants, I like to mix them up. I’ll plant two of the same, but other than that, I like to keep trying. I love:
- Mr. Stripey
- Mortgage Lifter
- Kellogg’s Breakfast
- Dr. Wyche’s Yellow
- Black Krim
- Cherokee Purple
- Sungold
- Black Brandywine
On harvest day I document everything. I take notes on my Day One App on my phone, taking a picture, with the ruler next to the tomato, and dictating notes. You never know when you’re going to need that kind of stuff.
Then I do a blind taste test and I’m not sure which one I’m eating they it’s delicious and then I look it’s a green one or a yellow one. So you cannot tell the taste of a tomato by its color.
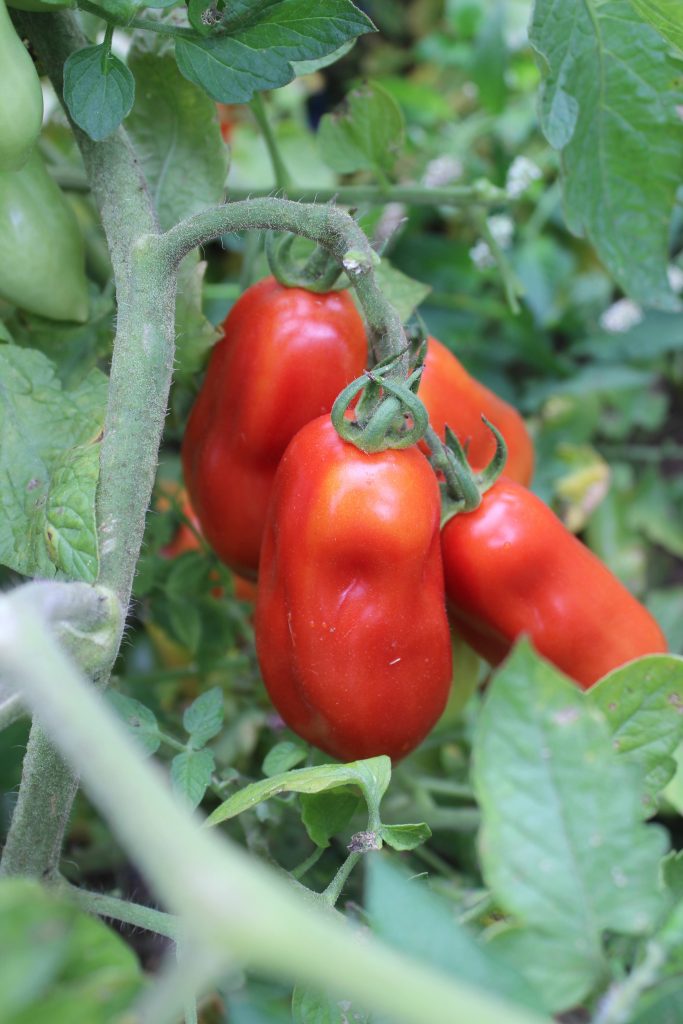
M: You’ve definitely given me some new ones to try. I’ve grown the Cherokee Purple and Black Krim. I’m a big food preserver and can all my tomato sauce. My favorite paste tomato has been the San Marzano Lungo No. 2. I’ll even use it for fresh eating. My primary reason for using it is because it’s prolific and the flavor is awesome.
Like you I always like to have some fun ones in there just for fresh eating and to try out new varieties. I’m going to try Mr. Stripey because I haven’t heard of that one before so now I’m intrigued.
J: It’s so pretty too because it has rainbow colors in it. It’s orange and pink and yellow coming from the bottom. Sungold seems to be a given for anybody that wants a cherry variety. This past year I grew a Black Brandywine. It was the biggest tomato I think I’ve ever grown. It was also the most delicious. It took two hands to hold it up so I could get a picture of it.
M: Now my tomato list just got a lot longer!
Pros of No Till Gardening Method
You are a proponent of doing the no-till method with the garden. I’m doing an experiment in my garden. We have a fairly large garden, about 20×30 feet in-ground garden where I do everything except my tomatoes because they’re in my high tunnel. Normally we’ll do either cover crops or I’ll do manure because we raise all of our own meats. I’ll do some sheet mulching on the garden during the winter months and then we’ll just do a rough till of whatever hasn’t composted down in the spring, right before spring planting. This past spring I did a soil test so I have the base of everything in the garden. I did have of the garden with wood chips and the other half I left there. I’m testing it out before I commit to doing the entire garden with wood chips. I won’t be doing my soil tests until we’re a fit further in the season to really see the results on a macro micronutrient level.
Update: It’s been over a year now, you can check out my results here We Covered Half the Garden in Wood Chips (18 Month Update)
I would love for you to tell me more about it because I’m ready to jump right into it buy my husband isn’t convinced since we’ve been doing it a different way for 20 years, and his grandpa did it this way too. So doing half was a compromise to test to see how it went. I’d love to get tips and pointers not only for myself but for those people who maybe are like me or like my husband and aren’t quite sure about that method.
J: First of all, we know a lot more now than we did 20 years or more ago about soil science. There’s a lot more information that we have about what’s going on in the soil. A couple of really easy things I think people can relate to:
Weed Seeds – Should have a lot fewer weeds if you avoid tilling because we know that many weeds need light to germinate and there are millions of weed seeds just under the surface that aren’t getting exposed to light and therefore not germinating. But when we’re tilling, we’re certainly bringing up tons of those dormant seeds to the surface. Then we’re dealing with weeds now. You can cover with sheet mulch or wood chips or something like that and suppress a lot of that. So you can get away with some of that.
Soil Structure – But the thing that really matters about not tilling is to preserve the soil structure because if we allow the microbes in, the soil organisms to do what they do, they colonize that soil and create natural passages for soil drainage and the fungal high phase intact. And the humus is there, that sticky substance that helps the soil particulates stick together in the right size and shape and create those air pockets in and still retain enough moisture and yet allow moisture to not stand in one place. You have the best of all worlds when you allow mother nature to do that with the organisms in the soil. But when we till we disrupt all of that down to a certain level. To think about it, it seems like were doing a good thing.
I used to till when I was hosting Fresh From the Garden on the DIY Network. The first thing we always did was till the garden, and we had a great garden too, but nothing like I’ve had in the last 15 to 20 years. When you don’t till your garden the roots are able to get down as far as they want to go versus when you till. If you till you have what is called tiller pan. As the tines are cutting through the top six inches of soil, basically pulverizing everything, exposing it to lots of air. So any organic matter that you have in the soil is being consumed rapidly because it’s burning in place.
You’re losing not only tons of that organic matter because the oxygen is being infused into that soil, which is what is needed for decomposition to take place. The problem it it’s decomposing what we want to stay there, you’re releasing a lot of carbon, burning up a lot of nitrogen and nutrients that you would rather have available in the soil rather than just going up into the atmosphere. Not to mention you’re chopping up a bunch of worms and things like that.
How to Start No Till Garden
Now the soil has a chance to recover. It’s not as though you’re creating permanent damage, but every year that you don’t till your building on the previous years and the networks that are in place and all that soil integrity that doesn’t happen overnight, it takes a long time.
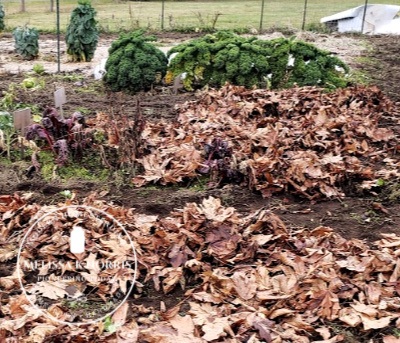
To me, every year is better than the year before as far as how my soil improves because I’m not tilling, but I’m topdressing. So as I add organic matter on top via coffee grounds, composted chicken manure, shredded leaf mulch, etc. it’s being taken down. So the organisms in the soil are doing my tilling for me but in a kinder, gentler way. That’s preserving the integrity of the soil without any of the detrimental aspects that come from tilling.
M: That makes so much sense. I actually never thought about the fact that it was releasing nitrogen and carbon into the air faster.
No Till Gardening with Leaf Mulch
In the spring we till then have this smooth clean slate to speak. I do crop rotation in my in-ground vegetable garden which means I’m putting some things in hills, rows, etc.. Different planting patterns every year. So with that freshly till soil it’s very easy to make all of these different areas. So when you are going to plant again in a no-till garden by direct sowing, how do you do that? Do you pull back all of the layers until you hit bare soil?
J: My favorite top layer mulch is shredded leaves. I don’t typically use wood chips anymore because my all-time favorite is shredded leaves. In the fall I collect bags of leaves and then pour them into a big fence corral over the winter. By the time spring comes around I have semi-composted shredded leaves that are just the most incredible thing to work with when you use them as a top dressing. You can plant seedlings in them. For direct sowing, I would pull it far enough away so that there isn’t any chance of the shredded leaves inhibiting the germination. This allows for greater exposure to air, light, and water.
As the seedlings grow big enough that I would start pushing the mulch back in place. I never had to deal with the really bulky hard material that would make it difficult to use even the direct sow method.
M: I’m kinda liking this shredded leaf thing. We have almost 15 acres and a lot of that is forested.
So basically you’re creating a compost pile but it’s just shredded leaves. Do you have a leaf shredder? Or rent one?
J: I don’t have a leaf shredder no do I rent one, but I do have a mower with a bagging attachment. So my method right now, and there’s not only one way to do this, and this is the easiest way for me to do this, is to make my mower and mow over the dry leaves (wet will bog it down) on the highest deck setting. As they get chopped up and sucked into the bags of the mower, then it’s golden.
Why Should You Use Mulch?
10 whole bags breaks down to 1 bag when you shred them. Once shredded I put into the corral. Then I’ll turn them once or twice, maybe, during the wintertime, but they basically self biodegrade. Not completely because I don’t want them to, I don’t want them to turn into pure compost. But while they’re in the garden during the summertime they break down more because they’re exposed to more light and air. It just improves the soil, doing its job as a much along the way:
- Weed suppression
- Disease suppression
- Moisture retention
- Soil mediation, temperature-wise
Then it’s breaking down at the end of the season and you don’t even need to think about it. You’ve just improved your soil too.
M: I’m really excited about this because I do a big old compost pile so it’d be very easy for me to do this with the leaves. And I love the practicality of using the lawnmower.
So you’re basically putting down this leaf mulch layer on the garden in the springtime after it’s had time to go down. So you’re doing the application once a year and about how thick?
J: About 2 inches. I put the mulch in as I’m changing out my crops, so two times a year.
M: I’m really excited about this; I think I’m going to try this. It’s not even been a full year with my wood chip experiment but I’ve found that they’re a lot heavier. I haven’t yet noticed a nitrogen deficiency because I haven’t worked them into the soil, just laid the wood chips on top. The potential for nitrogen deficiency because the wood chips are tying up the nitrogen is one reason I’ve been kind of hesitant to use them. With the shredded leaves, you don’t have that potential so I’m really excited about this.
J: Do get excited about it. You’ll love it. As far as whether it’s wood chips or shredded leaves, they’re not going to deplete nitrogen from the soil so much. The only depletion of nitrogen that is going to happen is within the top 1/16″ at the topsoil surface where the non-biodegraded organic matter ins coming in contact with a nitrogen source. However, if you turned in your wood chips into the soil or tilled them in, then you would have huge nitrogen depletion at that point because it’s mixed in with your nitrogen-rich soil. And you would have a big problem.
But by just laying it on top as mulch, you don’t run that risk. You can use your fresh wood chops on top and not worry about nitrogen depletion. It’s a common misconception that people have thinking that they’re gonna get their nitrogen draw from the soil but it’s been scientifically proven through the University of Washington and other institutions that that just doesn’t happen.
M: When do you add manure and/or compost? Would that be at the same time you add the fall mulch?
J: I have a big compost pile too where I add my greens and brown, not just the leaves. I even add leaves into my overall compost pile too as a carbon source. I have chickens so we have a lot of great nitrogen. I use coffee grounds for more nitrogen. That goes down as a top dressing before I add my seeds or seedlings in the spring and in the fall. I top dress with my compost (or additionally purchased compost if I don’t have enough) probably about an inch on top. I don’t work it or till it in because the microorganisms are going to take it down anyway. Then I sow or plant at the same time I’m adding my leaf mulch. So, compost first followed by leaf mulch a couple of weeks later.

Where you can find Joe:
Facebook.com/joegardener
facebook.com/GGWTV
twitter.com/joegardener
twitter.com/GGWTV
instagram.com/joegardener
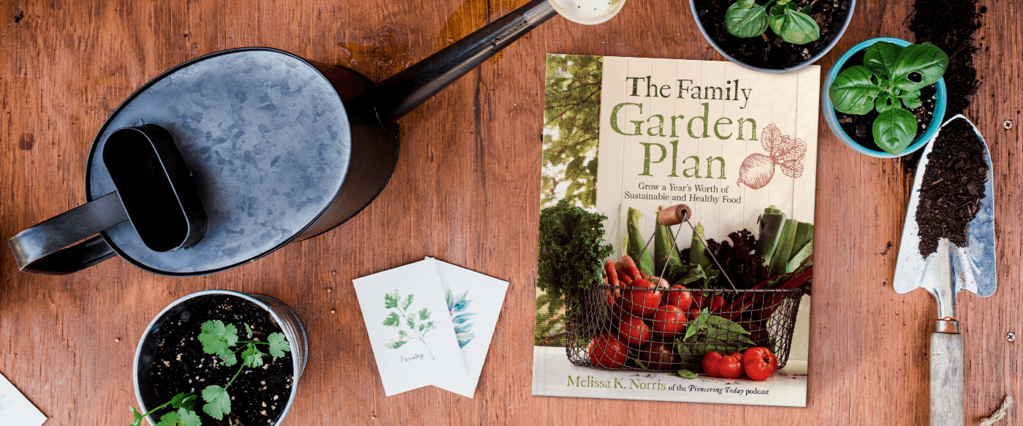
Grow more in your garden this year with my new book The Family Garden Plan: Grow a Year’s Worth of Sustainable and Healthy Food
Order the Family Garden Plan: Raise a Year’s Worth of Sustainable and Healthy Food and all the bonuses to grow your food here . You’ll learn cold frames and season extenders, composting, and so much more!
