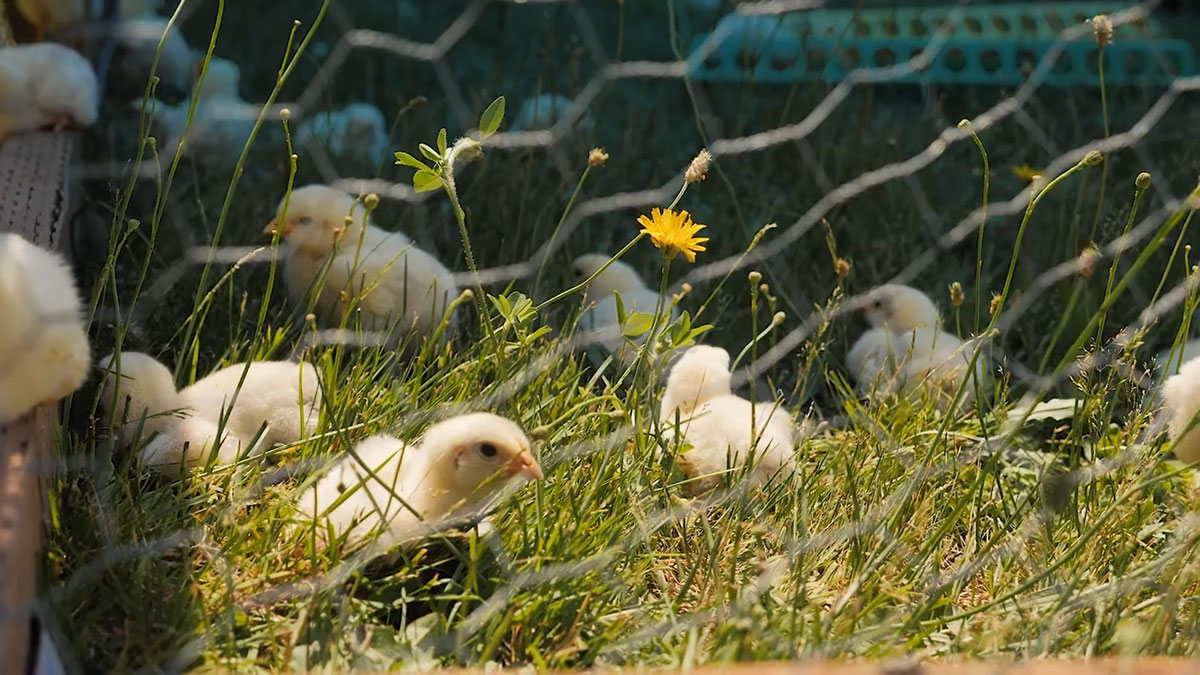
Raising baby chicks is a right of passage for any homesteader. When you're a beginner raising baby chicks, you want to make sure you're caring for your animals correctly. After all, this is your egg and meat production for the year, so you want to avoid some potentially costly mistakes.
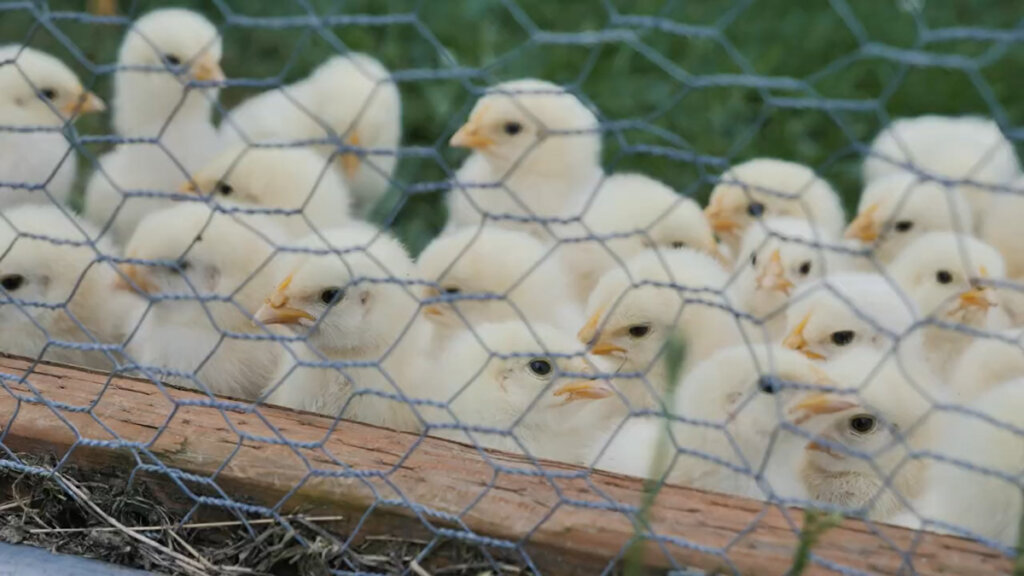
This post will cover tips for raising baby chicks purchased from a hatchery, feed store, or through the mail.
The steps to raising chicks that a mama hen has hatched out are slightly different. It's much easier when we let nature do her thing, but many people don't have the luxury of an already established flock or broody hen and need to begin their flock with baby chicks.
This is episode #106 on the Pioneering Today Podcast, where we preserve old-fashioned wisdom and skill sets for a modern world.
You are the most important, and biggest factor, when it comes to raising your baby chicks and their health.
You can catch an old episode of the Pioneering Today Show recorded on Facebook here:
Where to Buy Baby Chicks
There are many options when it comes to buying baby chicks:
- Hatchery – When it comes to meat birds, we purchase from McMurray Hatchery and have always had great success. The health of the chicks is generally strong, and we find we don't lose as many as some of the other companies we've tried. Also, McMurray tends to send more chicks than you ordered because it's common (and sometimes unavoidable) to lose a few during transport or shortly after they arrive.
- Local Breeder – If you have access to a local breeder, that may be even better, as the chicks won't have to travel through the mail system, which causes a lot of stress on their little bodies.
- Farm Supply Store – Our local feed stores generally carry baby chicks in the spring. However, it's hard to know where they came from. One benefit of this is that you can hold and pick the best, healthiest-looking chicks from the bunch. They also tend to be a bit older than mail-order chicks, so you might have better luck with not losing many of them.
When to Buy Baby Chicks
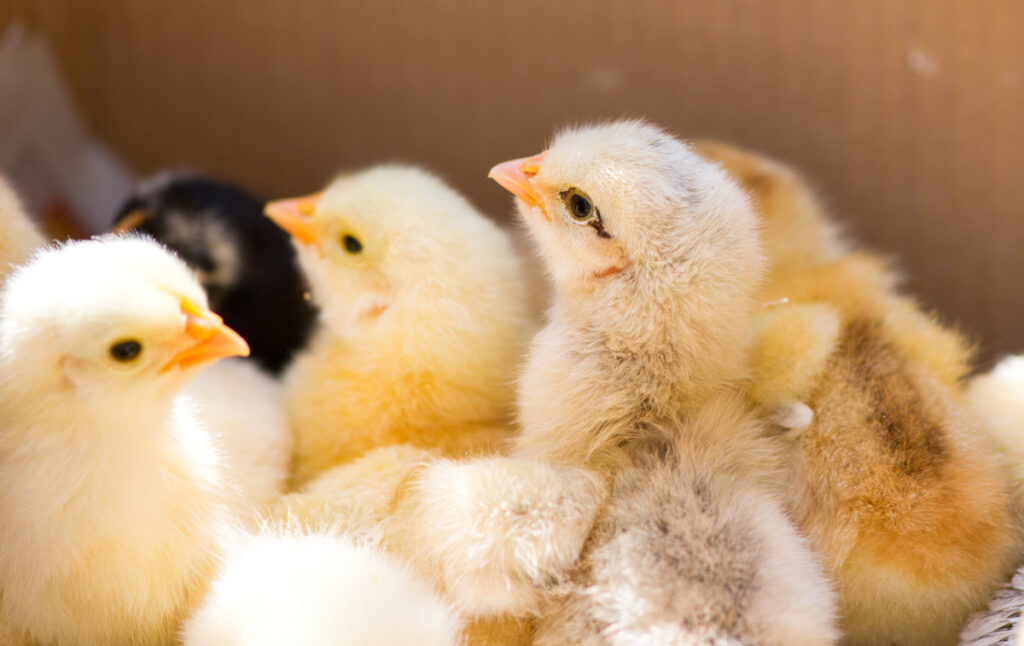
The great thing about getting chicks is that you can buy them at various ages/stages of development. It's the most cost-effective to buy them as day-old chicks. But you have some options.
As far as meat chicks go, I don't recommend buying anything other than day-old chicks. But when it comes to egg-laying chickens, here are your options:
- Day-Old Chicks – These are chicks, generally available from hatcheries or farm-supply stores. Most hatcheries have options to order chicks most months of the year, so you can plan this for when you want your chicks to either start their laying cycle, or be ready for butchering (meat birds). I like to get our meat chicks in late spring to early summer so they're ready to butcher toward the end of summer/early fall. This works well for raising the chicks outside (warmer weather) and not having to butcher in the heat of the summer.
- Pullets – Pullets are chickens that are 20 weeks old and ready to start laying. They cost more than day-old chicks, but you're also getting an immediate return on your investment with eggs. You can also skip right through all this information on raising baby chicks because the “hard part” is over. These chickens can go straight into the coop.
- Mature Hens – Finally, getting mature hens is another option. These are usually harder to come by but are often found through someone reducing their flock (or getting rid of their flock). You'll want to know how old the hens are, as most hens have a laying window. You don't want to pay good money for a hen that's near the end of her laying cycle.
Hatching Chicks
As mentioned above, if you have the ability to hatch out your own chicks, this may be the easiest route to take. A broody hen can be a great thing (when desired).
Check out this blog post and podcast for more information on breeding and hatching chicks.
Supplies Needed for Baby Chicks
There are some supplies you'll want to have on hand before bringing your chickens home. Having an area properly set up ahead of time will help your chicks get acclimated, recoup and destress from their long journey, especially if you ordered them through the mail.
- Brooder Boxes – Ideally, your brooder pen will have high enough sides to keep the baby chicks from jumping out. Curved or round shapes are best. Deep corners can lead to a chick getting trapped and/or trampled in the corner. You'll also want this to be a draft-free area.
- Bedding – You need to have something in the bottom of your brooding box for the baby chick's bedding. The ideal depth is about two inches deep. Keep their brooder box clean. You don't want them eating, lying, or breathing in an excess amount of poop. Chickens don't urinate separately. It all comes out in their poop, which makes excellent fertilizer, high in nitrogen. But don't add that straight to your garden! Wait until it's had a chance to cool (about six months).
- Pellets or Wood Shavings – The best solutions are pine pellets or wood shavings (though cedar is not recommended. It can cause respiratory distress).
- Hay or Straw – Hay and straw are prone to mold quickly and may harbor pests as well as requiring more frequent cleaning of your baby chick's pen.
- Newspaper – Newspaper is slippery, especially when wet, and can cause a condition in baby chicks called “splayed leg”.
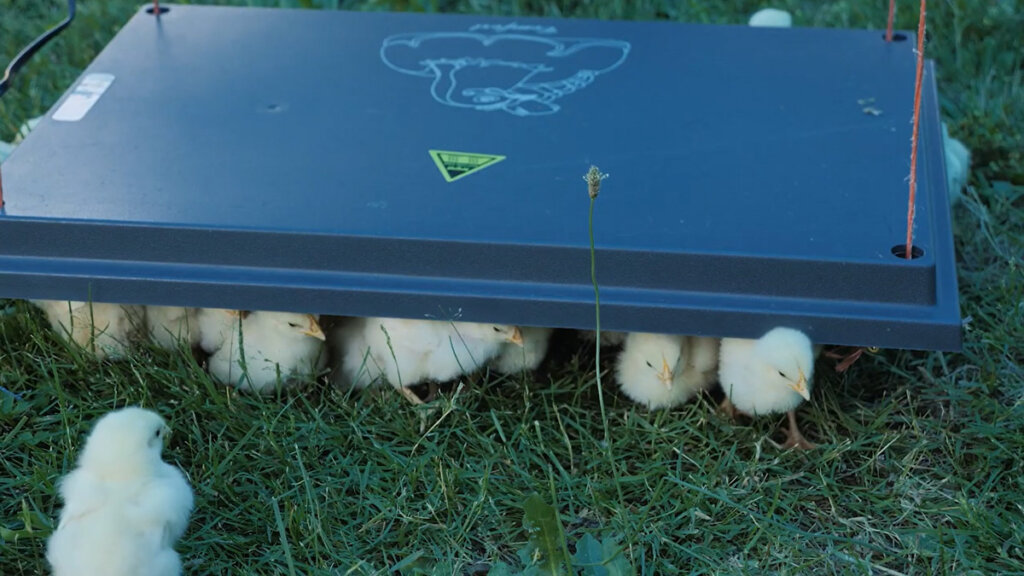
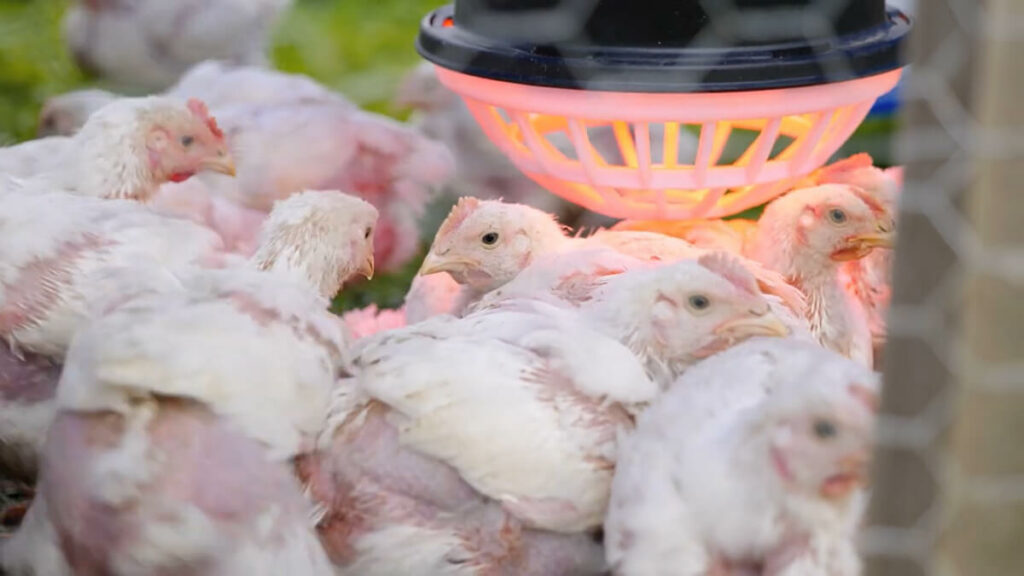
- Heat Plate – Your new darling baby chicks are fuzzy little puff balls of cuteness. But remember, they don't have their feathers yet. Their ideal temperature should be about 92°F. Without the mother hen to keep them warm, they will require a heat source. My new preferred option when it comes to heat for baby chicks is to use a heat plate (pictured above). There's no danger of fire (as with some heat lamps), and they're large and adjustable, so your chicks can choose if they need more or less heat and move to the area of the heat plate that suits their needs. Furthermore, I love that I can hang it from our portable chicken coop or use the adjustable legs that come with the plate.
- Heat Lamp – If you prefer a heat lamp, a red bulb heat lamp not only keeps baby chicks warm but also helps protect them from getting pecked and killed by their coop mates. Keep in mind, however, that these can be a fire hazard. It's important to make sure your heat lamp is stable and not near anything that could catch on fire. A heat lamp with a guard is an excellent idea, especially when the chickens get bigger and can jump, fly, and peck at it.
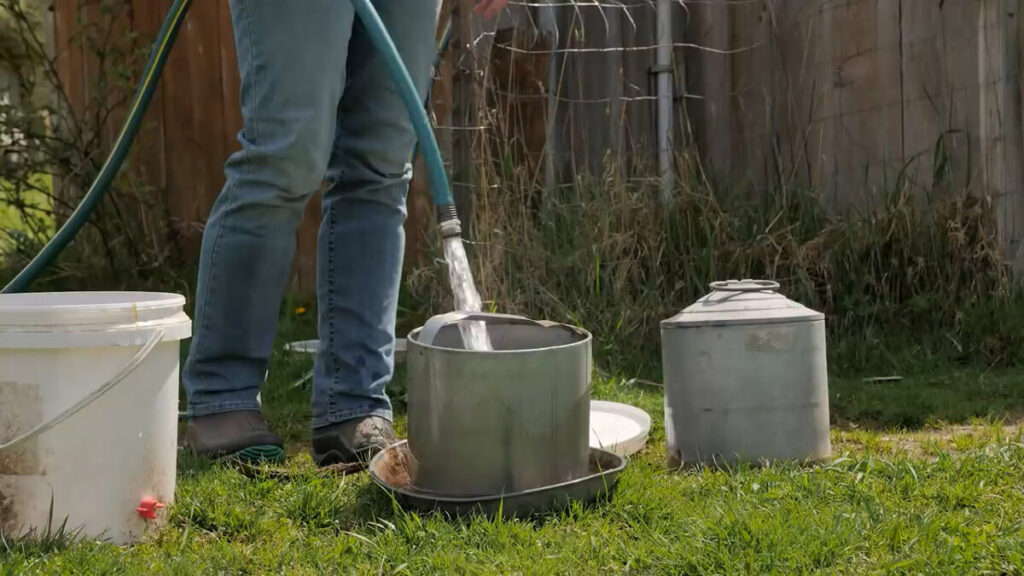
- Waterer – When you first bring your baby chicks home, water is more important than food. Especially if they're coming via the mail from a hatchery, there's a good chance they'll be dehydrated and in need of immediate water. I prefer to use a galvanized watering container (I prefer metal over plastic as they tend to crack and leak over time, plus they can grow and harbor bacteria). Also, if you have an open water container, baby chicks can fall in and drown.
- When you get the chicks home, place them in their prepared heated brooder box and offer them water. Many people dip the chick's beak into the water so the chick knows where to find it and that it's available.
- It's best to use a watering container like this (I prefer metal ones as plastic tends to crack and leak). If it's an open container, baby chicks can fall in and drown.
- Water is more important when it comes to raising baby chicks, so usually wait an hour or so before introducing food to make sure they've drank water first. Always keep them with clean fresh water.
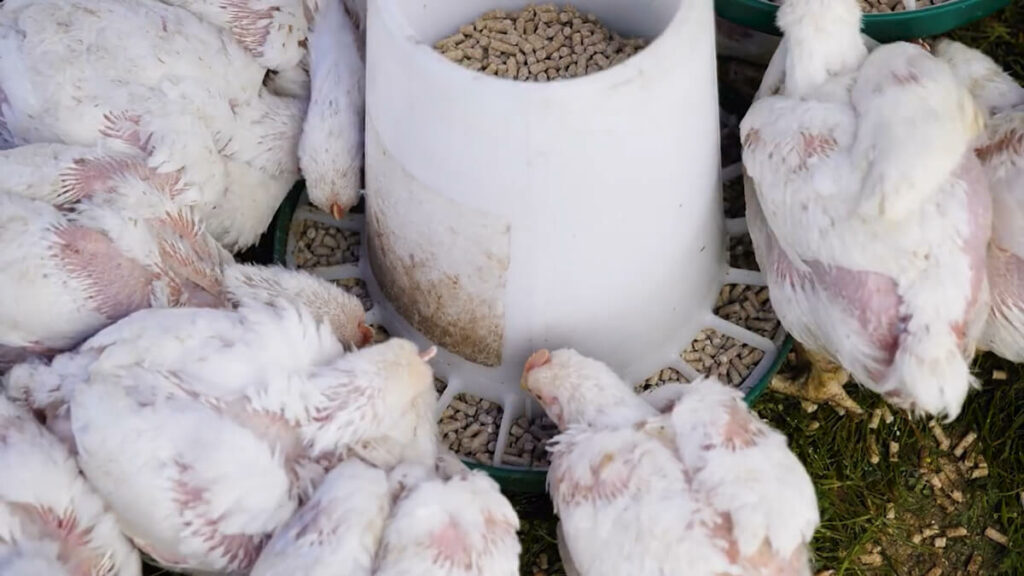
- Food – We choose not to feed our chicks medicated feed. The purpose of raising our own meat is to avoid antibiotics, hormones, pesticides, and chemicals in our food. We use an organic chick starter mix and also give them vegetable scraps from the garden and table. When raising baby chicks, you need to start with the appropriate food for their optimal health and growth. What to feed baby chicks after hatching is important, especially the amount of protein.
- Laying hens or dual-purpose breeds require 16 to 18 grams of daily protein for the first six weeks of life.
- Meat birds have a higher protein demand, needing to be fed 23 grams of protein a day for the first three weeks, then tapering down to 20 grams of protein per day from three to six weeks of age.
- Grit – If you're raising your baby chicks where they don't have access to bare ground or dirt, you'll need to provide them with some grit. The sooner, the better. Grit helps them digest their food, as they don't have teeth. Put some grit (a few scoops of soil with tiny pebbles and some grass clippings) in a small container in their pen and let them free range on it.
Tips for Happy Baby Chicks
- Get a good safe brooder and an appropriate chicken coop.
- If you want to keep chickens of various ages, be sure to read this post on integrating new chickens into an existing flock.
- Make sure baby chicks have access to food and water and all times.
- Inspect your chicks daily. You'll begin to recognize their temperament and be able to spot a chick that seems lethargic or ill.
- Immediately remove an injured chick from the flock. Chicks will peck each other to death if they see red. This is why a red light heat lamp can be beneficial to use. To be safe, I like to isolate an injured chick until the injury is completely healed (scab and all).
- Check waterers daily. Having multiple waterers, depending on the number of chicks you have, may be beneficial to avoid overcrowding and possible drowning. Shallow waterers are preferred, for this reason. You should be able to have a one-gallon waterer for 25-100 chicks. However, I would probably add a second waterer for 50+ chicks.
And that covers the basic needs for raising baby chicks. There are a few other frequently asked questions, along with details and the recipe for Magic Water, that you can find below.
If you have questions that weren't answered here, please leave a comment below or share your own tips so others can learn from them.
Magic Water for Baby Chicks & Sick Chickens
When chicks first get home, it can be a great idea to give them something called Magic Water. This is water fortified with honey, apple cider vinegar, and garlic to give their little bodies a boost of nutrition and antiviral/antibiotic properties.
I like to fill their waterer with Magic Water for the first two weeks they're home. There's no harm in giving them Magic Water long-term, but it's ideal for the first two weeks of the chick's life.
Magic Water can also be given to sick chickens of all ages, or if you're noticing a decline in your flock. If you have a sick chicken, it's ideal to isolate it right away, give it unlimited access to Magic Water, and feed it some fermented feed (soak their regular feed for three days, strain it, then feed to the chicken).
Magic Water Recipe
- 1 gallon Water – I like to start with just a couple of cups of warm water to help incorporate the honey, then top with cold water.
- 1/2 cup Honey – Any honey will do, but if you have raw honey, that's even better.
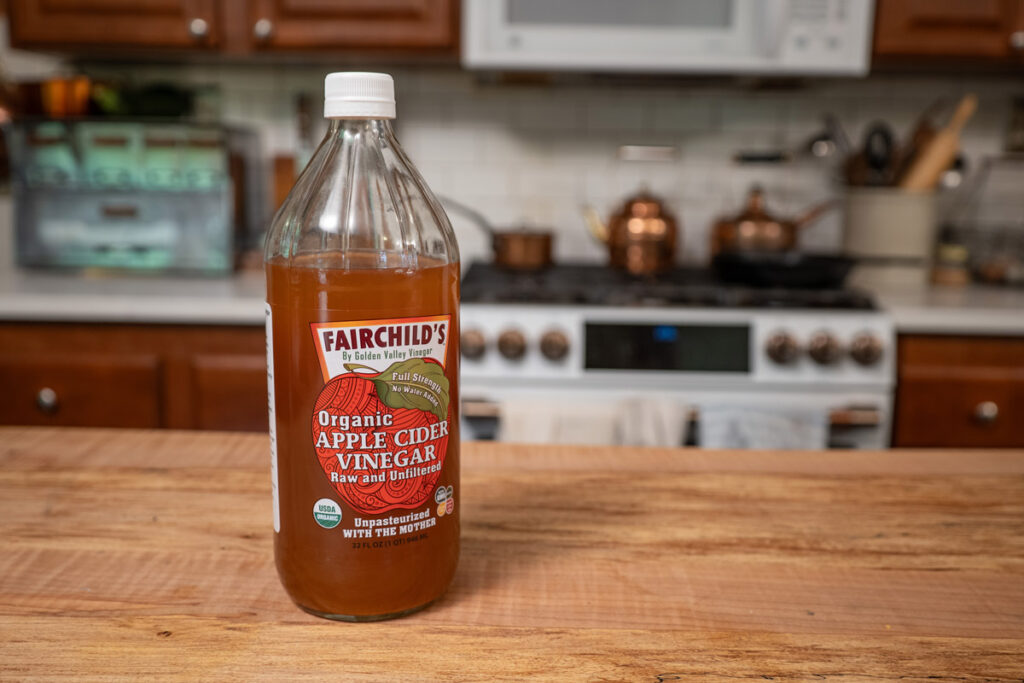
- 2 Tablespoons Apple Cider Vinegar (ACV) – I prefer using ACV with the Mother for the added live beneficial bacteria. But again, any apple cider vinegar will do.
- 2 cloves Garlic – You'll want to mince the garlic so more of the beneficial properties are able to be distributed in the water.
FAQs for Raising Baby Chicks
How Long Do Chickens Need to Be Under a Heat Lamp?
Usually, chicks will be under the heat lamp for about six to eight weeks. At six weeks, chicks are fully feathered and should be able to keep warm. However, if your outdoor temperatures are below 70 degrees Fahrenheit, slowly acclimate them to the cooler temperature.
A general rule of thumb is at six weeks of age, begin reducing the temperature in the chicken's brooder by about 5°F per week.
When Can Chicks Be Moved Outside?
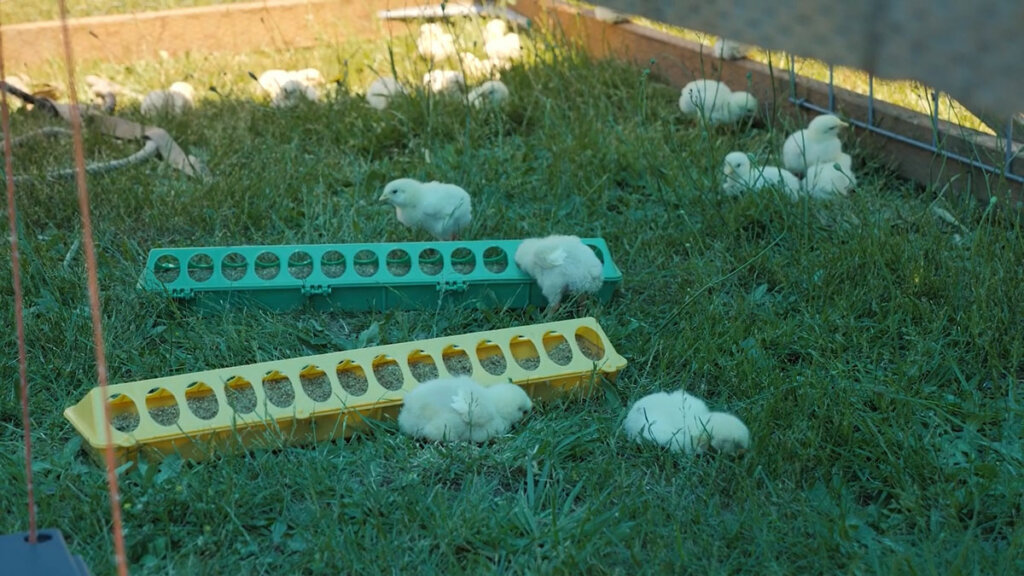
Our chicks start living outside after about two to three weeks of age, but still with the aid of a heat lamp. We'll turn off the heat lamp during the day if it's warm outside, but turn it back on for chilly nights for a few weeks until they're about eight weeks old, depending upon the weather.
Signs Your Baby Chicks Are Too Hot
If the chicks are panting and at the corners of the brooder box (away from the heat lamp/plate), it's a sign the baby chicks are too hot. Raise the heat lamp or heat plate up a few inches.
Signs Your Baby Chicks Are Too Cold
If the chicks are all huddled together tightly under the heat lamp, they're too cold, and you need to lower the heat lamp (or heat plate) an inch or two to warm them up.
Conclusion
Using the above tips will help give your baby chicks their best start, but nothing can take the place of daily care and attention.
Raising baby chicks doesn't stop after six weeks. From the egg to the table and more about raising your own livestock, growing your own food organically and naturally, and how to preserve it for year round eating is waiting for you in the Pioneering Today Academy.
We only open the doors to the academy twice a year. So click that link to sign up for our waitlist so you're notified as soon as the doors open.
Other Posts You May Enjoy
- 10 Tips on Raising Chickens for Meat
- Raising Backyard Chickens (Meat Birds)
- Raising Backyard Chickens (Egg-Laying Hens)
- Planning Your Livestock for a Year's Worth of Meat (Per Person)
- Breeding Chickens Naturally: Selective Breeding for Eggs & Chicks
- Integrating New Chicks to Existing Flocks Q&A Chicken Raising
- Raising Chickens for Profit
- How to Butcher a Chicken at Home
