Skip to main content
Skip to header right navigation
Skip to site footer
Melissa K. Norris
5th-generation homesteader. Helping modern women live from scratch.
Log In
Menu
Start Here
Podcast
Articles
Natural Medicine Cabinet
Recipes
Food Preservation
Gardening
Homestead-Life
Canning Recipes
Shop
Books
Classes
General Store
Academy
Log In
search
Search site
Submit search
Search
Start Here
Podcast
Articles
Natural Medicine Cabinet
Recipes
Food Preservation
Gardening
Homestead-Life
Canning Recipes
Shop
Books
Classes
General Store
Academy
Log In
search
Search site
Submit search
how to
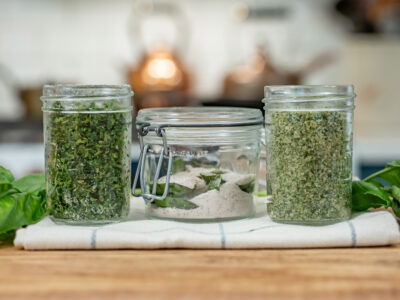
Homemade Basil Salt Recipe (3 Ways)
Read more
Homemade Basil Salt Recipe (3 Ways)